Apache Kafka®️ 비용 절감 방법 및 최적의 비용 설계 안내 웨비나 | 자세히 알아보려면 지금 등록하세요
Streaming Heterogeneous Databases with Kafka Connect – The Easy Way
Building a Cloud ETL Pipeline on Confluent Cloud shows you how to build and deploy a data pipeline entirely in the cloud. However, not all databases can be in the cloud, and it is becoming more and more common for heterogeneous systems to span across both on-premises and cloud deployments. Although traditional solutions have challenges in integrating these types of systems, this blog post introduces how Kafka Connect and Confluent Cloud provide a more seamless approach. This post also demonstrates an automatable workflow to integrate a cloud database and on-prem database into an ETL pipeline.
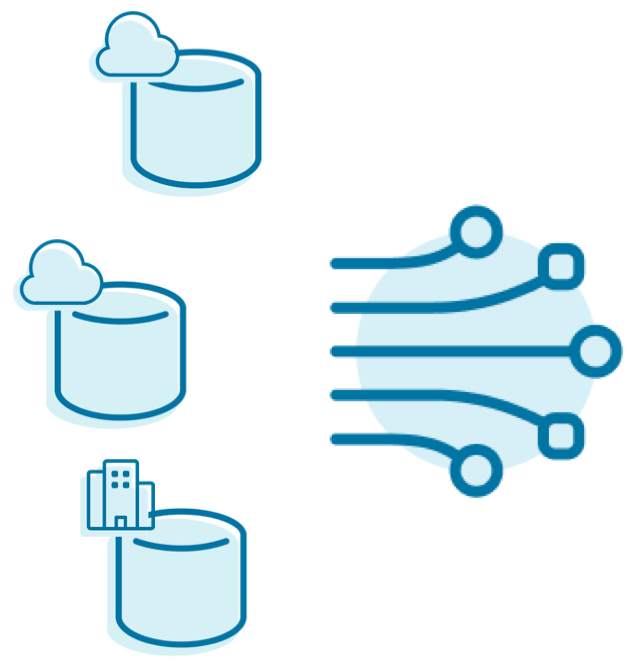 There are several reasons why databases may be both on premises and in the cloud, including:
- Some data warehouses run on-prem for workloads with higher performance requirements and use the cloud as a tiered, cost-efficient offering
- Traditional systems may want to migrate to the cloud but don’t want to risk a service disruption
- Even if the data warehouses are all in the cloud, they may span multiple cloud providers
This sprawl of databases can start to cause headaches very quickly, just as soon as the first business requirement comes along that entails processing data across them. Traditional solutions have shortcomings:
- Synchronization services add complexity by introducing another service to manage and another point of failure, not to mention additional cost
- Database-specific migration services can copy data between databases, but that only works for homogeneous databases, not heterogeneous databases
- Some cloud providers offer migration services for heterogeneous databases, but that locks you into a single cloud provider and does not work for multi-cloud architectures
- Batched data synchronization prevents real-time stream processing
Easy integration with Kafka Connect
Using Kafka Connect, you can pull data into Confluent Cloud from heterogeneous databases that span on premises as well as multiple cloud providers such as AWS, Microsoft Azure, and Google Cloud. This enables you to build a flexible and future-proof, multi-cloud architecture, with a single source of truth to view all the data.
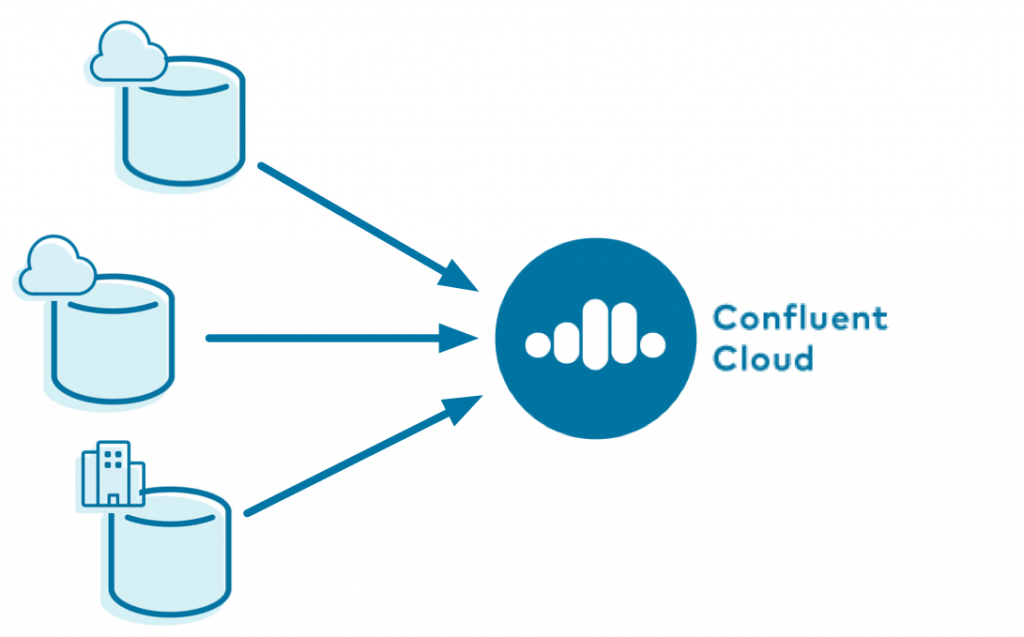
Kafka Connect is a powerful distributed connector execution framework that allows connectors to stream data from end systems into Apache Kafka® topics, and vice versa. Connect handles scale out, schemas, serialization and deserialization, worker restarts, dead letter queues, etc., whereas connectors handle the specifics of reading from or writing to the end system. To learn more about the principles for moving data from databases into Kafka, see No More Silos: Integrating Databases into Apache Kafka from Kafka Summit.
There is an extensive ecosystem of connectors that integrate Apache Kafka with virtually any data source such as databases, messaging systems, and other applications, including over 400 open source connectors and 80 connectors officially supported by Confluent. The Kafka Connect API is fully documented so you can write your own connectors too. But when you are using Confluent Cloud, you can deploy fully managed connectors to connect to a variety of external systems without any operational overhead. This “Connect as a service” makes it super easy to read data from databases into Confluent Cloud and write data from Confluent Cloud to other end systems.
Streaming your data into Confluent Cloud provides additional benefits:
- You can take advantage of ksqlDB or Kafka Streams to easily transform and cleanse your data as it changes
- Although the data may live in a database that you can’t control, you can now liberate it to drive new applications in real time
- You can share data without giving access to the original database, which is great for sharing data within your company and with external partners
- It doesn’t preclude any data synchronization or data integration prior to moving data into Kafka
Connecting theory to action
Let’s now see Connect in action with Confluent Cloud in a scenario that pulls data from a cloud PostgreSQL database and from an on-prem MySQL database, into a single Confluent Cloud instance. Confluent Cloud CLI and other tools enable you to automate this workflow.
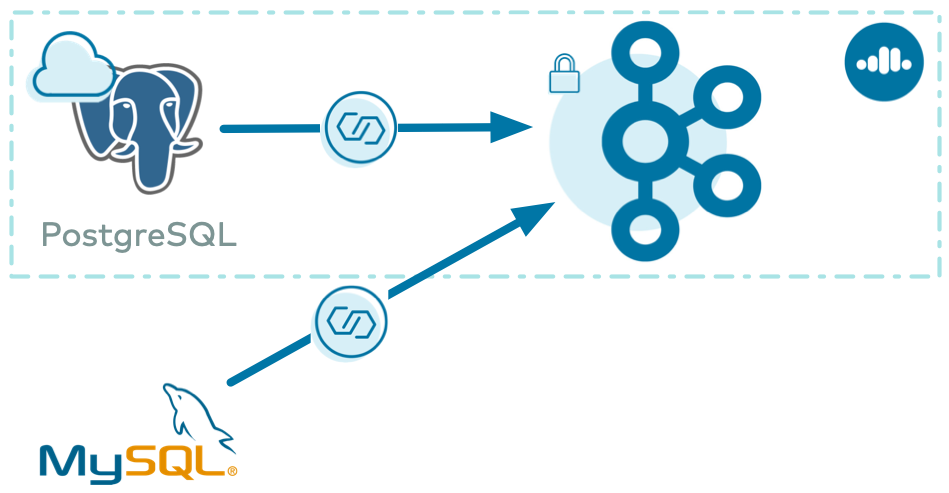
Note that this blog post is not meant to be a complete step-by-step tutorial—for automated end-to-end workflows please refer to confluentinc/examples.
Spin up Confluent Cloud
If you’ve already provisioned a Confluent Cloud cluster and created a service account and requisite ACLs to allow the connector to write data—awesome! But if you would appreciate an assist, a very quick way to spin all this up is to use a new ccloud-stack utility available in the documentation.
Use promo code C50INTEG to get an additional $50 of free Confluent Cloud usage as you try out this and other examples.*
Make sure you have installed Confluent Cloud CLI and logged in with your Confluent Cloud username and password
Then you can spin up a ccloud-stack by running a single command ./ccloud_stack_create.sh. This script uses Confluent Cloud CLI under the hood, and automatically creates a new environment, Kafka cluster, service account, and requisite ACLs to access to the following resources in Confluent Cloud:
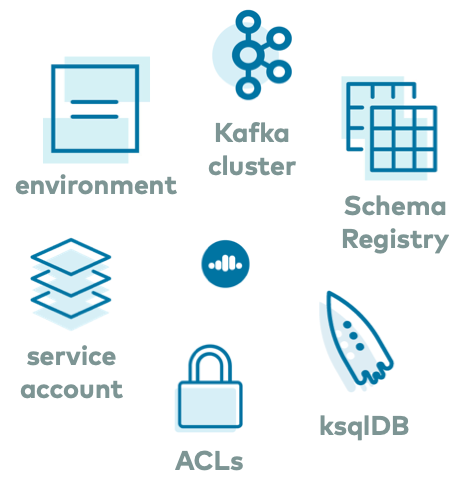
In addition to creating these resources, ccloud-stack also generates a local configuration file with connection information to all of the above services. This file is particularly useful because it contains connection information to your Confluent Cloud instance, and any downstream application or Kafka client can use it, like the self-managed Connect cluster discussed in the next section of this blog post. The file resembles this:
# ------------------------------
# ENVIRONMENT ID: <ENVIRONMENT ID>
# SERVICE ACCOUNT ID: <SERVICE ACCOUNT ID>
# KAFKA CLUSTER ID: <KAFKA CLUSTER ID>
# SCHEMA REGISTRY CLUSTER ID: <SCHEMA REGISTRY CLUSTER ID>
# KSQLDB APP ID: <KSQLDB APP ID>
# ------------------------------
ssl.endpoint.identification.algorithm=https
security.protocol=SASL_SSL
sasl.mechanism=PLAIN
bootstrap.servers=<BROKER ENDPOINT>
sasl.jaas.config=org.apache.kafka.common.security.plain.PlainLoginModule required username="<API KEY>" password="<API SECRET>";
basic.auth.credentials.source=USER_INFO
schema.registry.basic.auth.user.info=<SR API KEY>:<SR API SECRET>
schema.registry.url=https://<SR ENDPOINT>
ksql.endpoint=<KSQLDB ENDPOINT>
ksql.basic.auth.user.info=<KSQLDB API KEY>:<KSQLDB API SECRET>
If you don’t want to use the ccloud-stack utility and instead want to provision all these resources step by step via Confluent Cloud CLI or Confluent Cloud UI, refer to the Confluent Cloud documentation.
Use the Confluent Cloud Postgres source connector
Now that you have provisioned Confluent Cloud, you can pull in data from any end system.

In this example, there is a durable event source that is part of a log ingestion pipeline. A PostgreSQL database in Amazon RDS has a table of log events with the following schema:
timestamp TIMESTAMP WITH TIME ZONE DEFAULT CURRENT_TIMESTAMP NOT NULL
eventSourceIP VARCHAR(255)
eventAction VARCHAR(255)
result VARCHAR(255)
eventDuration BIGINT
You can use the Confluent Cloud UI or Confluent Cloud CLI to create the fully managed PostgreSQL Source Connector for Confluent Cloud to stream data from the database. This blog post shows you a snippet using the CLI because it’s great for building a CI/CD pipeline or recreateable demo.
Since there is no topic auto creation in Confluent Cloud, first create the destination Kafka topic. This is the Kafka topic to which the connector is going to produce records from the PostgreSQL database. For simplicity, make the topic name the name of the table PostgreSQL and parameterize the topic name as ${POSTGRESQL_TABLE}.
ccloud kafka topic create ${POSTGRESQL_TABLE}
Create a file with the PostgreSQL connector information, and call it postgresql-connector.json. A full description of this connector and available configuration parameters are documented at PostgreSQL Source Connector for Confluent Cloud, but the following are the key ones to note: kafka.api.key and kafka.api.secret are the credentials for your service account, topic.prefix and table.whitelist correspond to the name of the Confluent Cloud topic created in the previous step, and timestamp.column.name dictates how the connector detects new and updated entries in the database:
{
    "name": "demo-RDSPostgresSource",
    "connector.class": "PostgresSource",
    "tasks.max": "1",
    "kafka.api.key": "${API KEY}",
    "kafka.api.secret": "${API SECRET}",
    "table.whitelist": "${POSTGRESQL_TABLE}",
    "topic.prefix": "",
    "connection.host": "${CONNECTION_HOST}",
    "connection.port": "${CONNECTION_PORT}",
    "connection.user": "${PG_USERNAME}",
    "connection.password": "${PG_PASSWORD}",
    "db.name": "${DB_INSTANCE_IDENTIFIER}",
    "timestamp.column.name": "timestamp",
    "data.format": "JSON"
}
Set these parameter values explicitly in your configuration file before you create the connector using Confluent Cloud CLI (or use funky bash from the ccloud_library to evaluate the parameters on the fly):
ccloud connector create --config postgresql-connector.json
The command output includes a connector ID, which you can use to monitor its status:
ccloud connector describe <id>

Connector Details
+--------+------------------------+
| ID     | lcc-7q9v1              |
| Name   | demo-RDSPostgresSource |
| Status | RUNNING                |
| Type   | source                 |
| Trace  |                        |
+--------+------------------------+
Once your connector is running, read the data produced from the Postgres database to the destination Kafka topic (the -b argument reads from the beginning):
ccloud kafka topic consume -b ${POSTGRESQL_TABLE}
Run your own Kafka Connect worker and connector with Confluent Cloud
So far you’ve created a fully managed connector to get data from a cloud database into a Kafka cluster in Confluent Cloud. But what if:
- The database has firewalls that prevent connections initiated externally
- Confluent Cloud doesn’t (yet!) provide a fully managed connector for the technology with which you want to integrate
- You want to run Confluent Replicator (which is a source connector under the hood)
For these scenarios, you can run a connector in your own Kafka Connect cluster and get the data into the same Kafka cluster in Confluent Cloud. Depending on your Confluent Cloud support plan, you can also get support from Confluent for these self-managed components.
For example, imagine you have an on-prem database—MySQL in this case—that you want to stream to Confluent Cloud.
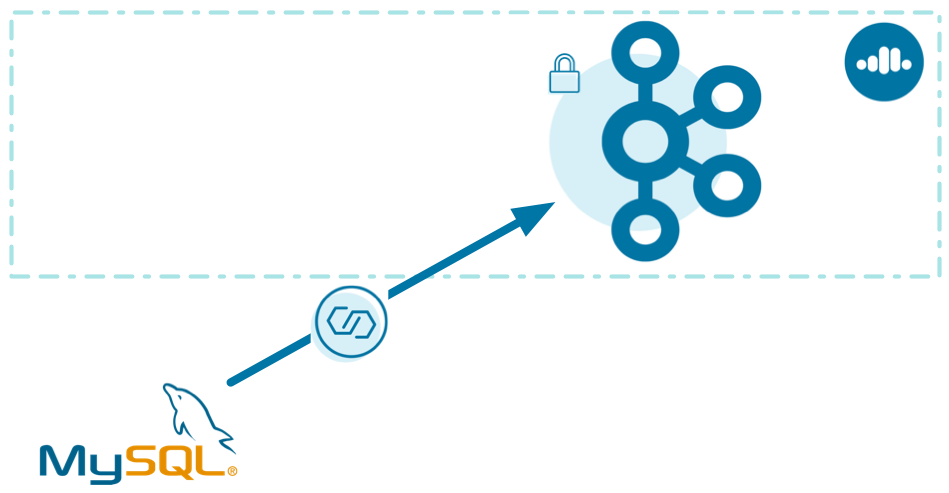
For simplicity, this post shows you how to implement the solution with Docker (if you want to try this out yourself, check out confluentinc/cp-all-in-one), but of course, you can do this in any of your preferred deployment options (local install, Ansible, Kubernetes, etc.).
First find your desired connector in Confluent Hub for the technology with which you’re integrating. This example uses the Debezium MySQL CDC Connector because the source is a MySQL server.
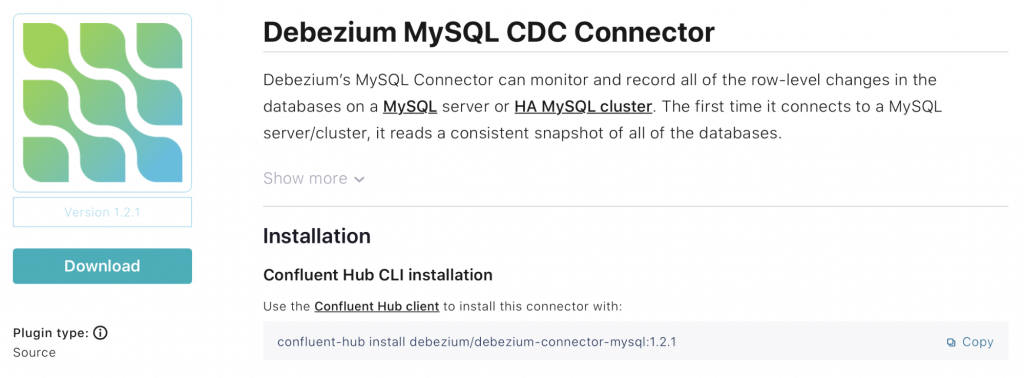
You will need to build your own Docker image that bundles the Connect worker with the necessary connector plugin JAR from Confluent Hub. Create a Dockerfile that specifies the base Kafka Connect Docker image along with your desired connector. Here is what the Dockerfile looks like if you want to use the Debezium MySQL CDC source connector:
# Select the base Connect timage
FROM confluentinc/cp-kafka-connect-base:5.5.1

# Set Connect’s Plugin Path
ENV CONNECT_PLUGIN_PATH="/usr/share/java,/usr/share/confluent-hub-components"

# Install the connector from Confluent Hub
RUN confluent-hub install --no-prompt debezium/debezium-connector-mysql:1.2.1
Build the Docker image on your machine, passing in the above Dockerfile as an argument:
docker build -t localbuild/connect_custom_example:latest -f Dockerfile
Now that you’ve built the Connect worker image, you need to run it and point it to your Confluent Cloud instance. If you ran the ccloud-stack utility described earlier, you can automatically glean your Confluent Cloud connection information from the file that was auto-generated (if you didn’t use ccloud-stack, manually configure your Kafka Connect worker to Confluent Cloud):
# Extract connection parameters into a folder delta_configs
./ccloud-generate-cp-configs.sh <path to ccloud-stack output file>

# Export the generated env variables into your environment
source delta_configs/env
All the connection parameters are now available to Docker and any Docker Compose file you have with the Connect worker configuration, such as docker-compose.connect.local.yml, which is configured to use the new, custom Docker container:
docker-compose -f docker-compose.connect.local.yml up -d
Verify that the Connect worker starts up, using commands like docker-compose ps and docker-compose logs. You now have a Kafka Connect worker pointed to your Confluent Cloud instance, but the connector itself has not been created yet.
Create the destination Kafka topic to which the connector is going to produce records from the MySQL database. For simplicity, make the topic name the name of the table in MySQL and parameterize the topic name as ${MYSQL_TABLE}.
ccloud kafka topic create ${MYSQL_TABLE}
Next, create a file with the Debezium MySQL connector information, and call it mysql-debezium-connector.json. A full description of this connector and available configuration parameters are in the documentation. Specifically for change data capture (CDC), the connector records information about all data definition language (DDL) statements that are applied to the database in a database history topic in the Kafka cluster (database history is a feature unique to the Debezium connector, not all connectors). Therefore, the Debezium connector configuration also specifies the Confluent Cloud connection information and credentials for the database history topic via the respective database.history.* configuration properties:
{
    "connector.class":
"io.debezium.connector.sqlserver.SqlServerConnector",
    "database.hostname": "${CONNECTION_HOST}",
    "database.port": "${CONNECTION_PORT}",
    "database.user": "${MYSQL_USERNAME}",
    "database.password": "${MYSQL_PASSWORD}",
    "database.dbname": "${DBNAME}",
    "database.server.name": "${DB_SERVER_NAME}",
    "table.whitelist":"${MYSQL_TABLE}",
    "database.history.kafka.bootstrap.servers": "${BOOTSTRAP_SERVERS}",
    "database.history.kafka.topic": "${MYSQL_TABLE}",
    "database.history.consumer.security.protocol": "SASL_SSL",
    "database.history.consumer.ssl.endpoint.identification.algorithm":
"https",
    "database.history.consumer.sasl.mechanism": "PLAIN",
    "database.history.consumer.sasl.jaas.config": "org.apache.kafka.common.security.plain.PlainLoginModule required username=\"${API KEY}" password=\"${API SECRET}";",
    "database.history.producer.security.protocol": "SASL_SSL",
    "database.history.producer.ssl.endpoint.identification.algorithm":
"https",
    "database.history.producer.sasl.mechanism": "PLAIN",
    "database.history.producer.sasl.jaas.config": "org.apache.kafka.common.security.plain.PlainLoginModule required username=\"${API KEY}" password=\"${API SECRET}";",
    "transforms": "unwrap",
    "transforms.unwrap.type":
"io.debezium.transforms.ExtractNewRecordState”
}
Like the other connector example, set these parameter values explicitly in your configuration file (or do the funky bash to evaluate on the fly), and then create the connector by submitting it to the Connect worker’s REST endpoint:
curl -i -X POST -H Accept:application/json -H Content-Type:application/json http://localhost:8083/connectors/ -d @mysql-debezium-connector.json
Monitor the connector status:
curl http://localhost:8083/connectors/status
Once your connector is running, read the data produced from the MySQL database to the destination Kafka topic:
ccloud kafka topic consume -b ${MYSQL_TABLE}
Congratulations!
You are now streaming data from heterogeneous databases: One is a cloud PostgreSQL database and the other is an on-prem MySQL database with CDC, all landing in Kafka in the cloud. This is great for hybrid cloud data warehouses or when you need event completeness for multiple data sources.

Next steps
This blog post demonstrated how to integrate your data warehouse into an event streaming platform, regardless of whether the database sources are in the cloud or on prem. But that’s not the end. For next steps, you may process, transform, or cleanse that data with Confluent Cloud ksqlDB as described in the second half of the cloud ETL blog post. Or, you may load it into a variety of cloud storage options (e.g., Amazon S3, Google Cloud Storage, or Azure Blob storage) as described in the final part of the cloud ETL blog post.
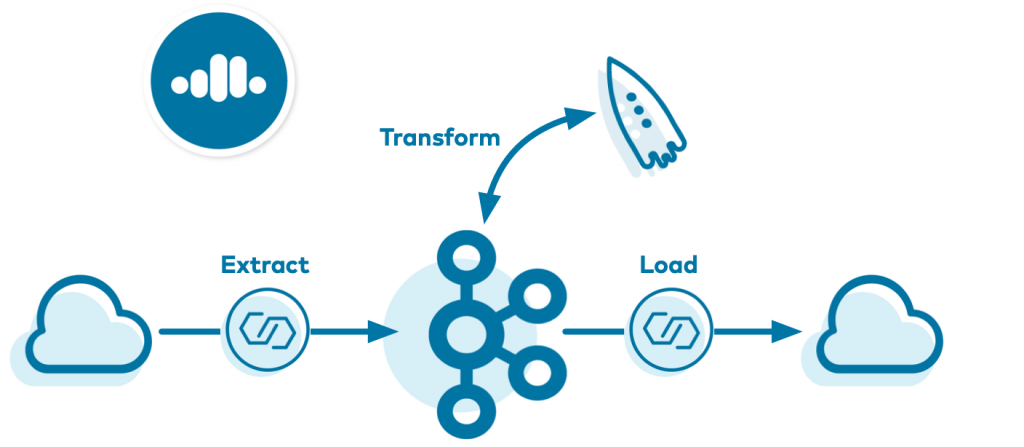
Although the examples demonstrated above use source connectors, the same principles apply just as well to sink connectors too. For additional examples of how to build hybrid cloud pipelines with Confluent Cloud, refer to the Confluent Cloud Demos documentation. Use the promo code C50INTEG to get an additional $50 of free Confluent Cloud usage as you try out these examples.*
이 블로그 게시물이 마음에 드셨나요? 지금 공유해 주세요.
Confluent 블로그 구독
New with Confluent Platform 7.9: Oracle XStream CDC Connector, Client-Side Field Level Encryption (EA), Confluent for VS Code, and More
This blog announces the general availability of Confluent Platform 7.9 and its latest key features: Oracle XStream CDC Connector, Client-Side Field Level Encryption (EA), Confluent for VS Code, and more.
Meet the Oracle XStream CDC Source Connector
Confluent's new Oracle XStream CDC Premium Connector delivers enterprise-grade performance with 2-3x throughput improvement over traditional approaches, eliminates costly Oracle GoldenGate licensing requirements, and seamlessly integrates with 120+ connectors...

