It’s Here! Confluent’s 2026 Data + AI Predictions Report | Download Now
Deploy Confluent Platform in 5 Steps with the Ansible Installer
An initial distributed deployment of Confluent Platform is often a necessary step toward supporting your first real-time data use case. We offer enterprise-grade deployment orchestration with Confluent for Kubernetes and Confluent Ansible playbooks, but we also recognize these tools may be intimidating to new users without prior Kubernetes or Ansible experience.
In order to help users deploy Confluent Platform for the first time, we’re excited to announce the launch of our Ansible Installer. This simple web app is designed to guide users through an initial distributed deployment of Confluent Platform, even if you have never used Ansible before. The only prerequisites are six machines you can Secure Shell (SSH) into.

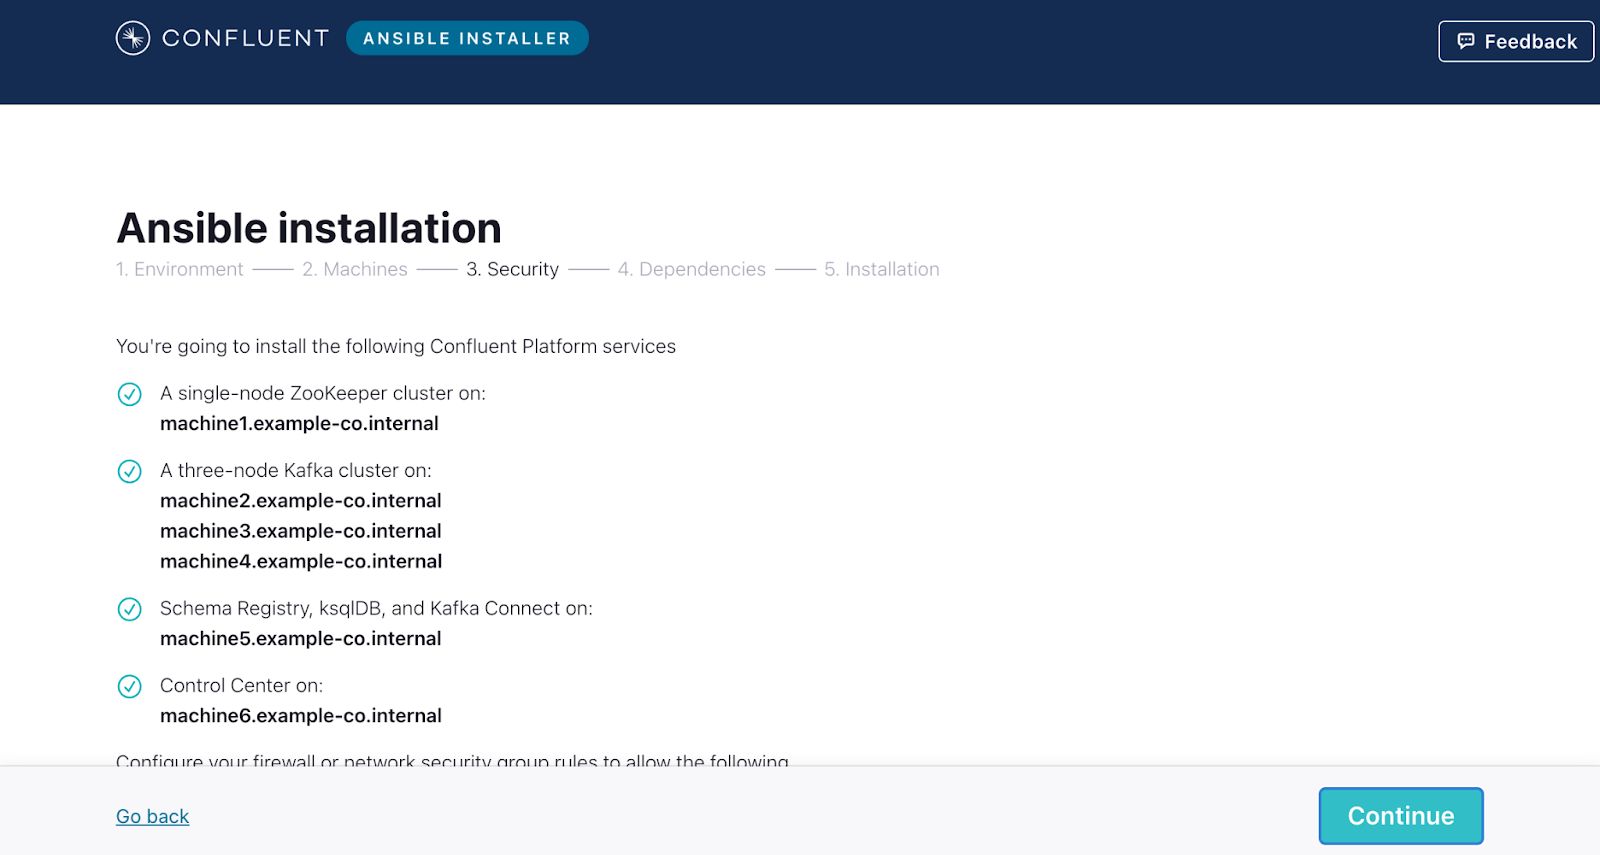
In just five steps, Confluent’s Ansible Installer walks users through a six-node deployment of Confluent Platform.
The only prerequisites are six machines you can SSH into. Each of the six machines must meet the following modest requirements (which are roughly the equivalent of AWS’s m5.large EC2 instances):
- At least 2 vCPUs, 8GB of RAM, and 8GB of storage
- RHEL/CentOS 7.x, RHEL/CentOS 8.x, Debian 9, Ubuntu 16.04 LTS, or Ubuntu 18.04 LTS operating system
- Hostnames you can successfully reach from your workstation via SSH connection
- A compatible SSH private key that is stored on your workstation; this private key allows access as a Linux user with super user sudo privileges
- The ability to connect to each other via specific TCP ports
- The ability to reach Confluent’s software package repository at packages.confluent.io
The Ansible installer will ask you for the following information about your six machines:
- Usernames
- The local file path to your SSH key (not the actual key)
- Machine hostnames
The installer uses this information to dynamically create network rules and an Ansible playbook. Then it will walk you through how to structure and run your Ansible playbook to deploy Confluent Platform.
Please note that the Ansible installer does not attempt to access your machines and will not have access to your private key. In fact, the usernames, SSH key file path, and machine hostnames you provide are only used to build an Ansible playbook for you. None of this information is logged by Confluent.
By the time you’ve finished the Ansible installer’s five steps, you will be ready to set your data in motion. You’ll have a three-node Kafka cluster, Schema Registry, Connect, ksqlDB, and the Confluent Control Center UI all up and running!
This deployment is appropriate for initial development and to build a robust proof of concept. As you progress on your journey to production deployment, you can easily augment this playbook to suit your particular needs (e.g., with more robust security or larger scale). Now, if you don’t want to manage on your own machines and would prefer to go serverless, try Confluent Cloud for free. Use the code CL60BLOG to get an additional $60 of free usage.*
Did you like this blog post? Share it now
Subscribe to the Confluent blog
Unified Stream Manager: Manage and Monitor Apache Kafka® Across Environments
Unified Stream Manager is now GA! Bridge the gap between Confluent Platform and Confluent Cloud with a single pane of glass for hybrid data governance, end-to-end lineage, and observability.
Introducing Confluent Private Cloud: Cloud-Level Agility for Your Private Infrastructure
Confluent Private Cloud (CPC) is a new software package that extends Confluent’s cloud-native innovations to your private infrastructure. CPC offers an enhanced broker with up to 10x higher throughput and a new Gateway that provides network isolation and central policy enforcement without client...

